Originally published 29 Dec 2021, updated: 22 Jul 2025
To comply with Apple’s rules regarding MacOS certificate expiry dates, Charles’ root certificates have much shorter expiry dates (read article here). This change came into effect on September 1 2020.
From version 4.6 of Charles onwards, new root certs will have a 1-year expiry, instead of the previous 50-year expiry date.
Check if Charles root cert has expired
- On your Mac, open the Keychain application and search for “Charles Proxy”
- Look for the “Not Valid After” date on the certificate
- If it has expired, you will need to replace it

Solution 1
Reset certificate
- Open Help -> SSL Proxying -> Reset Charles Root Certificate…

Install and trust root certificate
- Delete the expired certificate (shown in the image with a light blue icon next to it)
- Now install and trust the Charles root certificate the exact same way you installed it the first time you set up Charles
- If you can’t remember all those steps, just follow all the steps from the “Configure Root Certificate on Mac” article

Replace root certificate on iOS device
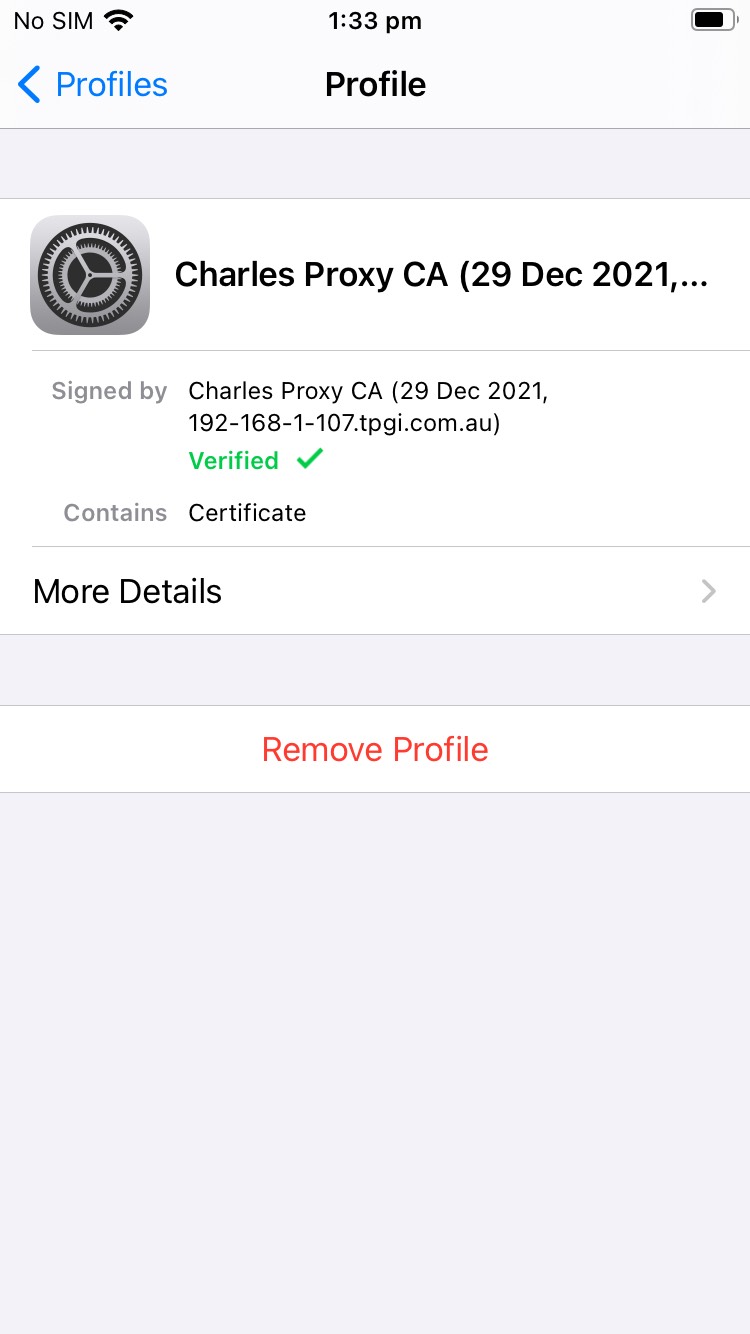
- To remove the certificate, go to Settings -> General -> Profiles -> tap the Charles root certificate-> tap on “Remove”
- To install a new certificate, go to http://chls.pro/ssl and install (and trust!) it
- If you’ve forgotten/not familiar with the install process, follow instructions here
Replace root certificate on Android device
- To remove the certificate, go to Settings -> Security -> Encryption & credentials -> Trusted credentials -> User -> tap on the Charles root cert (it’s called “XK72 Ltd”) -> tap “Remove
- To install a new certificate, go to http://chls.pro/ssl and install it
- If you’ve forgotten/not familiar with the install process, follow the relevant article below

Solution 2
Another possible solution would be to install Charles 4.5.6 alongside your existing version of Charles i.e. the version before the 1 year expiry date change. You can download the installation file from https://www.charlesproxy.com/assets/release/4.5.6/charles-proxy-4.5.6.dmg
Solution 3
If none of the above solutions work, please add a comment below. Include:
- your version of Charles
- the type of machine you are using (Windows or Mac)
Feel free to email me (charlesdocsy@gmail.com) screenshots, videos, etc. and any other details you feel are helpful. I will respond (I would also like a solution to this problem!)
I tweeted the guy who runs Charles Proxy and asked him to investigate. If anyone has a solution to this problem, please add a comment and I will update this page


Hi – I have recently encountered this issue, but I test on iOS and Android, using a PC, not a mac. One cert on my iOS device expired – and the new cert I downloaded had the same expiry date as the old one. I attempted to load the cert from my PC, which works fine with my Android device, but on iOS it will not pass data (all calls are “unknown”). Have you seen anything similar? If so, do you know of a resolution?
LikeLike
Have you trusted the newly installed cert on iOS?
LikeLike
I have the same problem and it’s valid with trusted cert as well
LikeLike
Can you email me some screenshots (or a screen recording) and I’ll have a look? charlesdocsy@gmail.com
LikeLike
yes
LikeLike
Facing same issue guys.. Have installed the new Charles certificate after uninstalling the previous one but the new one downloaded also shows the expired certificate.. (It has old expiry date)
LikeLike
Have you replaced the root certificate on your laptop (I think that might be the problem)? The root cert you install on your device is just a copy of the laptop root cert. Can you give that a try and see if it fixes the issue?
LikeLike
Hello,
My Charles certificate expired. I followed the steps mentioned in this page
After delete and reinstalling certificate, i am seeing the old expired certificate only getting installed.
Screen recording is available at below link
https://drive.google.com/file/d/1QB395z5fyiaMu5x-aXhnpwA49nCOaIA_/view?usp=sharing
Could you please help me what needs to be done?
LikeLike
I was using Charles V3. I did the following as a workaround. It worked.
. Deleted Charles V 3
. Installed Charles V 4
. Reset Charles Certificate
. Delete Charles V 4
. Install Charles V 3
. Install Root Certificate. This installed a valid certificate. But the expiry is set to 1 year.
LikeLike
I tried this method Siva, but it did not work for me. It still tries to install an expired certificate.
LikeLike
I have the same problem as others in this thread. I have reset the Charles Root Certificate and, despite that, when I use the “Install Charles Root Certificate” option, I see a certificate appear in Keychain Access which has an expiry date of the previous day. I am encountering this problem with Charles version 4.6.2 on macOS 12.2.1.
LikeLike
I’m also facing a similar issue that others are facing in Charles version 4.6.4 and MacOS Ventura 13.1.
I have tried to delete the previously installed certificate from Keychain and tried to install the new one from the latest version of Charles, but still no luck. The certificate that was installed with the latest Charles is expired and the expired certificate is not visible on the keychain.
To see you have to go to Keychain -> View -> Show Expired Certificate. Now the Charles expired certificate is visible on the Keychain but it is of no use.
LikeLike
I would suggest you go with “Solution 3” i.e. downgrade to version 4.5.6 (this is the version I personally use). If you downgrade, first make sure you export all your settings (Tools -> Import/export settings -> click “Export” tab -> click “Export” button).
LikeLike
Hey, the problem is resolved. Resetting the certificate worked out for me.
Another problem that I encountered was that I was not able to access any websites when Charles Proxy was opened
This gets resolved by the below steps -> Go to Tools -> Allow List and make sure “Enable Allow List” is unchecked.
LikeLike
I am on a Mac and using v4.6.1
I (stupidly) deleted the .pem file in my keychain access.
Now when I try to install charles certificate from the SSL option it gives me “Cannot find certificate file” error
I’ve tried the “Reset Certificate” option so so many times and it gives me a pop up with cancel/reset but choosing reset still doesn’t appear to do anything. Did I completely bork my installation?
LikeLike
If you can’t regenerate the .pem file, then reinstalling might be your only option. Make sure you export all your settings before you delete Charles. To export them, go to Tools -> Import/Export Settings -> Export and then select everything you want to export. Once you’ve got your new instance of Charles up and running, you can import them (you go to the same location to import your settings file)
LikeLike
I was worried that would be the case, thanks for the confirmation at least!
LikeLike
Facing the same problem…Charlse ver 4.5.6 and mac ver sequoia 15.0.1. The new certificate’s expire time is the same with the old one which is ealier than now… So what can i do now…
LikeLike
Unfortunately all I can suggest is, delete Charles and do a fresh install. Not ideal but as you can see from all the other comments nobody seems to know how to fix this particular issue
LikeLike