The root certificate is the magic ingredient that allows Charles to decrypt HTTPS traffic. This certificate allows your MacBook to give Charles permission to decrypt and view all HTTPS traffic (in plain text) that flows in and out of your machine
If you are reading this article because Charles has all of a sudden stopped working, then you may need to read this article (about expired root certificates)
Install Charles
Download it from here
Download Root certificate
Open Charles -> Help -> SSL Proxying -> Install Charles Root Certificate

Add certificate to your Keychain
Click Add

Open certificate in Keychain
The certificate should now appear (with a little red X to the left of it)

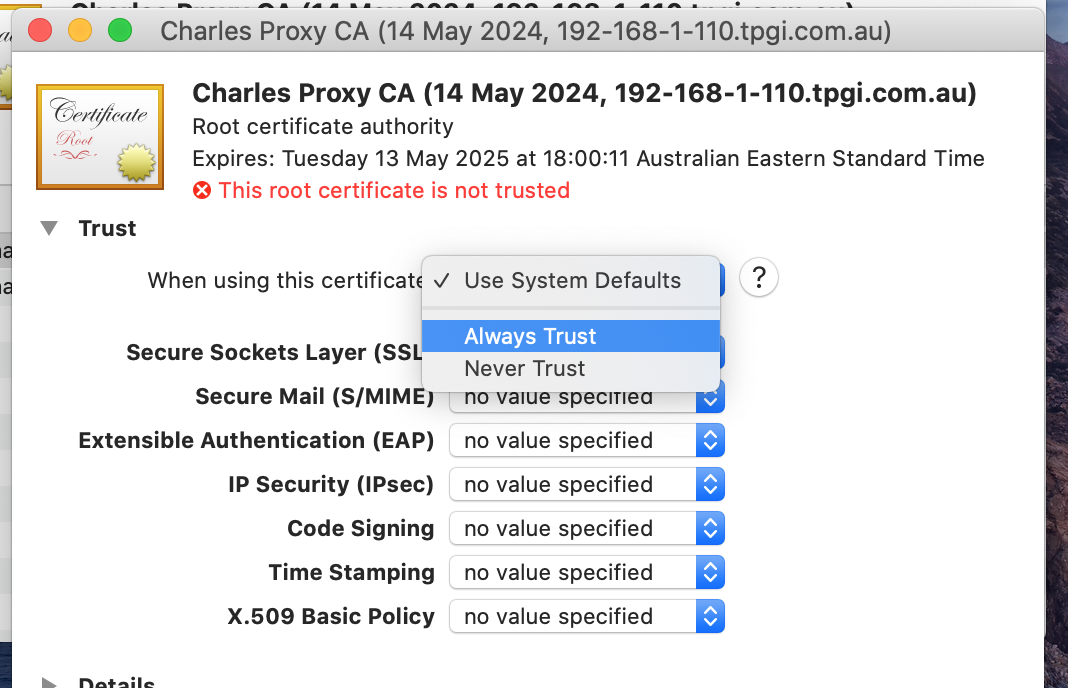
Trust certificate
Double click to open the certificate. Expand the “Trust” section and select “Always Trust” from the first dropdown.
Apply Root certificate changes
When you click close the Keychain window you should be prompted to enter your admin password. Enter it and click “Update Settings”

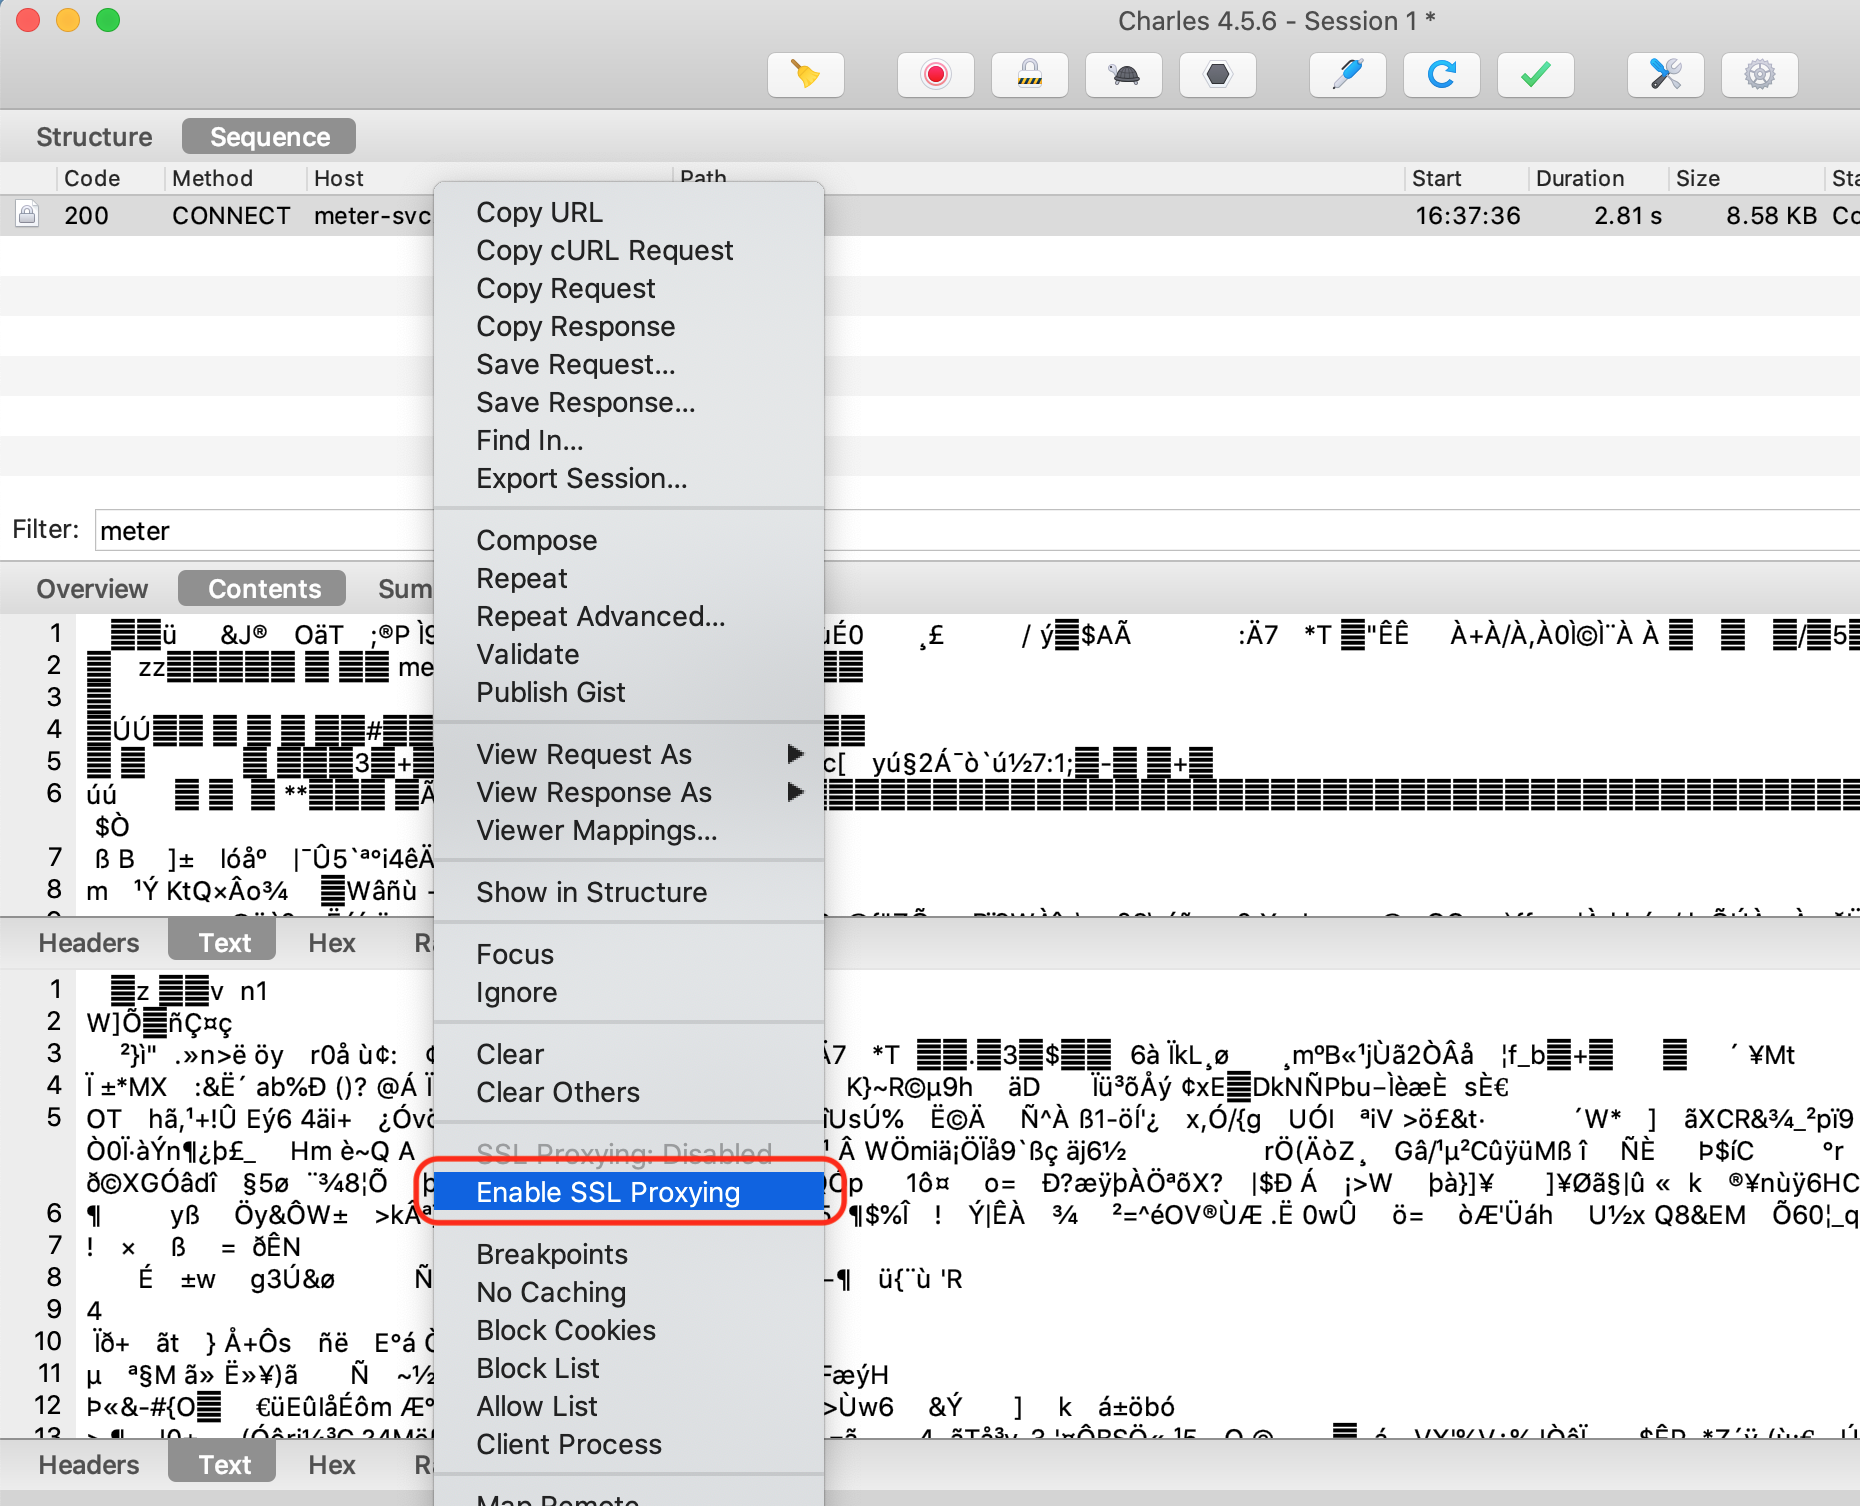
Enable SSL Proxying
Open a browser -> go to any HTTPS enabled website you like -> open Charles and right click on a specific Request -> select “Enable SSL Proxying”
I am using NY Times in my example but you can test this with any HTTPS traffic
Check traffic appears in plain text
Reload the page on your browser. Now you should see Request and Response details in plain text


