The Breakpoint feature is great if you want to just intercept 1 Request (or Response) and modify some element of it. If you are a frequent user of Breakpoints, you also should have a look at the Rewrite feature.
The following tutorial will show you how to use the Breakpoints feature to intercept a Request, add a header to it and then forward on the modified Request to the server. You can just as easily adapt this tutorial to modify other parts of a Request. You can add, edit or delete:
- URL or path
- Parameter/query string
- Auth header
- Cache header
- Any other Request header
NOTE: In this tutorial I am using Chrome and the Products endpoint from the Australian OpenBank API
Prerequisites
- Install Charles
- Make sure you have setup the Charles Root certificate on your Mac before you proceed to the next step
Go to the OpenBank API Products’ endpoint
Open Chrome and go to NAB’s Products endpoint
You should now get an error about about a “Missing mandatory header” (the missing header is called ‘x-v’)

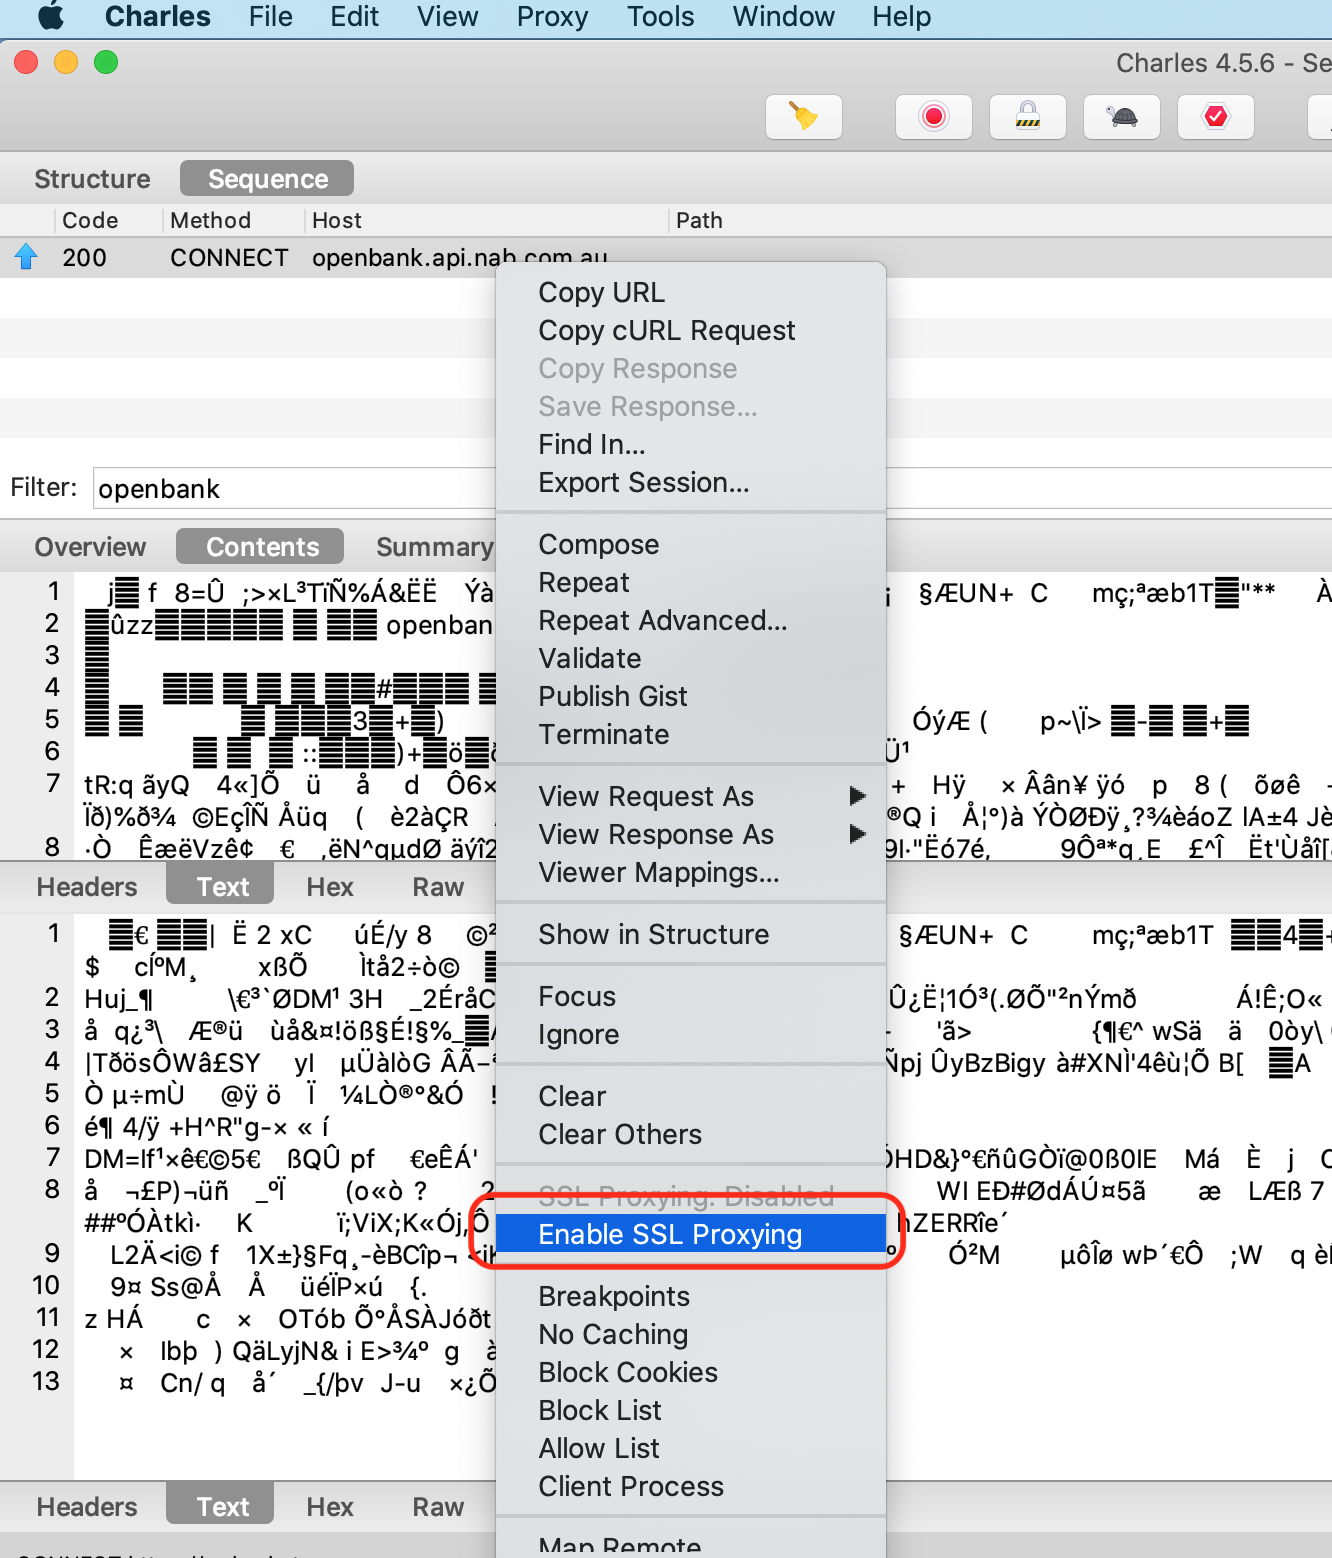
Enable SSL Proxying
In Charles, right click the OpenBank request and click the “Enable SSL Proxying” option
The Request(s) you want to modify must be decrypted before you can use the Breakpoints feature with it
Reload the page on Chrome
Return to Charles where you should now get a 406 error. Request details should be displayed in plain text

Add a Breakpoint
Right click the Request -> click “Breakpoints”

Open “Breakpoint Settings” screen
Proxy -> Breakpoint Settings

Configure Breakpoint
On the “Breakpoint Settings” screen you should see you’re newly added Breakpoint. Double-click it to edit.
On the “Edit Breakpoint” screen change the following:
- Select “GET” from the “Scheme” dropdown
- Untick the “Response” checkbox (we are only interested in the Request)

Reload the page on Chrome
Return to Charles. It should have caught your Breakpoint
Click “Edit Request”

Edit the Request’s header
- At the bottom of the screen tap “Headers”
- Add “x-v: 1” to the raw Request (‘x-v’ is the name of the header)
- Click “Execute” to send the modified Request to the server

Check it all works!
You should now get a 200 status code. The Response body should now contain a list of Products

Watch the tutorial
Here is the whole tutorial in GIF format